The first time I tried to figure out how to paint the northern lights, I ended up with a canvas that looked like a neon radioactive spill. It was bad. Truly. Most people think you just slap some bright green over a black background and call it a day, but the Aurora Borealis is actually a weird, ghostly dance of light that defies standard painting logic. It’s translucent. It's fluid. It’s basically physics happening in the sky, and if you treat it like a solid object, it’s going to look fake every single time.
You’ve gotta understand the light first.
The science is actually pretty cool and helps your art. When solar wind hits the Earth’s magnetosphere, it excites atmospheric gases. Oxygen at lower altitudes (about 60 miles up) gives off that classic lime green, while higher up it turns red. Nitrogen gives you those deep purples and blues. If you’re painting, you aren't just "picking colors"—you're layering the atmosphere. This isn't just a landscape; it's a light show.
The Biggest Mistake People Make with Northern Lights Art
Almost everyone starts with a jet-black canvas. It seems logical, right? The sky is dark. But here’s the kicker: the night sky is rarely pure black. It’s a deep, bruised navy or a dark violet. If you use straight black out of the tube, your colors will look like stickers stuck onto a wall. They won't "glow."
The trick is to create a gradient. Start with a deep ultramarine or Prussian blue at the top and work down to a slightly lighter, warmer dark near the horizon. This gives the painting depth. It gives the light somewhere to live. When you’re learning how to paint the northern lights, you have to respect the background.
And for the love of everything, stay away from "glow-in-the-dark" paint if you want it to look professional. Real artists use high-pigment fluorescents or, better yet, just really smart color theory. If you put a very bright, thin layer of Zinc White under your green, it pops. Zinc White is more transparent than Titanium White, which makes it perfect for that ghostly, ethereal look.
Essential Gear for Aurora Art
Don't buy those cheap, stiff plastic brushes. You’ll regret it. You need softness.
I personally swear by a large, soft "mop" brush or a high-quality fan brush. The fan brush is your best friend for creating those vertical "curtains" or streaks. You also need a dry blending brush—something clean and fluffy that has never touched water. This is the secret weapon for softening edges so the light looks like it's fading into the stars.
Acrylics are great for beginners because they dry fast, but oils are actually superior for the Northern Lights. Why? Because you can blend them for hours. With acrylics, you’re in a race against the clock. If you’re stuck with acrylics, get some "retarder" medium. It slows down the drying time so you don't end up with hard, ugly lines where the light should be soft.
The Color Palette You Actually Need:
- Phthalo Green: This is the base of most Auroras. It's vibrant and transparent.
- Lemon Yellow: Mix this with the green for those "hot" highlights at the bottom of the light curtain.
- Dioxazine Purple: For the top fringes where the oxygen gets thin.
- Prussian Blue: Your deep sky base.
- Titanium White: Only for the brightest "spark" points.
Mastering the "Curtain" Technique
The Aurora isn't just a blob. It has structure. Think of it like a giant, fluttering silk curtain hanging from the stars.
To get this right, you want to use "flicking" motions. You start at the base of the light—where it’s brightest—and flick your brush upward. It should be a fast, confident stroke. If you hesitate, the line will look shaky. The bottom edge of the Aurora is usually the sharpest and most defined, while the top drifts off into nothingness.
Bob Ross used to do this with a 2-inch brush, and while some "fine artists" scoff at him, his technique for the Aurora was actually spot on. He’d tap a bit of color on the bottom and pull it up. Simple. Effective. Honestly, it works.
Why Your Green Looks "Muddy"
If your green looks brownish or dull, you’ve probably mixed it with too much of the background color while it was still wet. This is the "mud" trap. To avoid this, let your dark background dry completely before you even think about touching it with green. Or, use a "wet-on-wet" technique but only with a very light touch.
If you're using oils, use the "fat over lean" rule. Keep your background thin. Make your Aurora colors a bit "fatter" with a little linseed oil so they sit on top of the background rather than sinking into it.
The Role of Perspective and the Horizon
The Northern Lights don't just sit flat against the back of the sky. They follow the curvature of the Earth. If you paint them as straight horizontal lines, the painting will feel "off" and flat. Instead, try to give them a slight arc.
Think about where the viewer is standing. Are they looking straight up? Then the lights should radiate from a central point (the corona). Are they looking at the horizon? Then the lights should appear smaller and more compressed the further away they get.
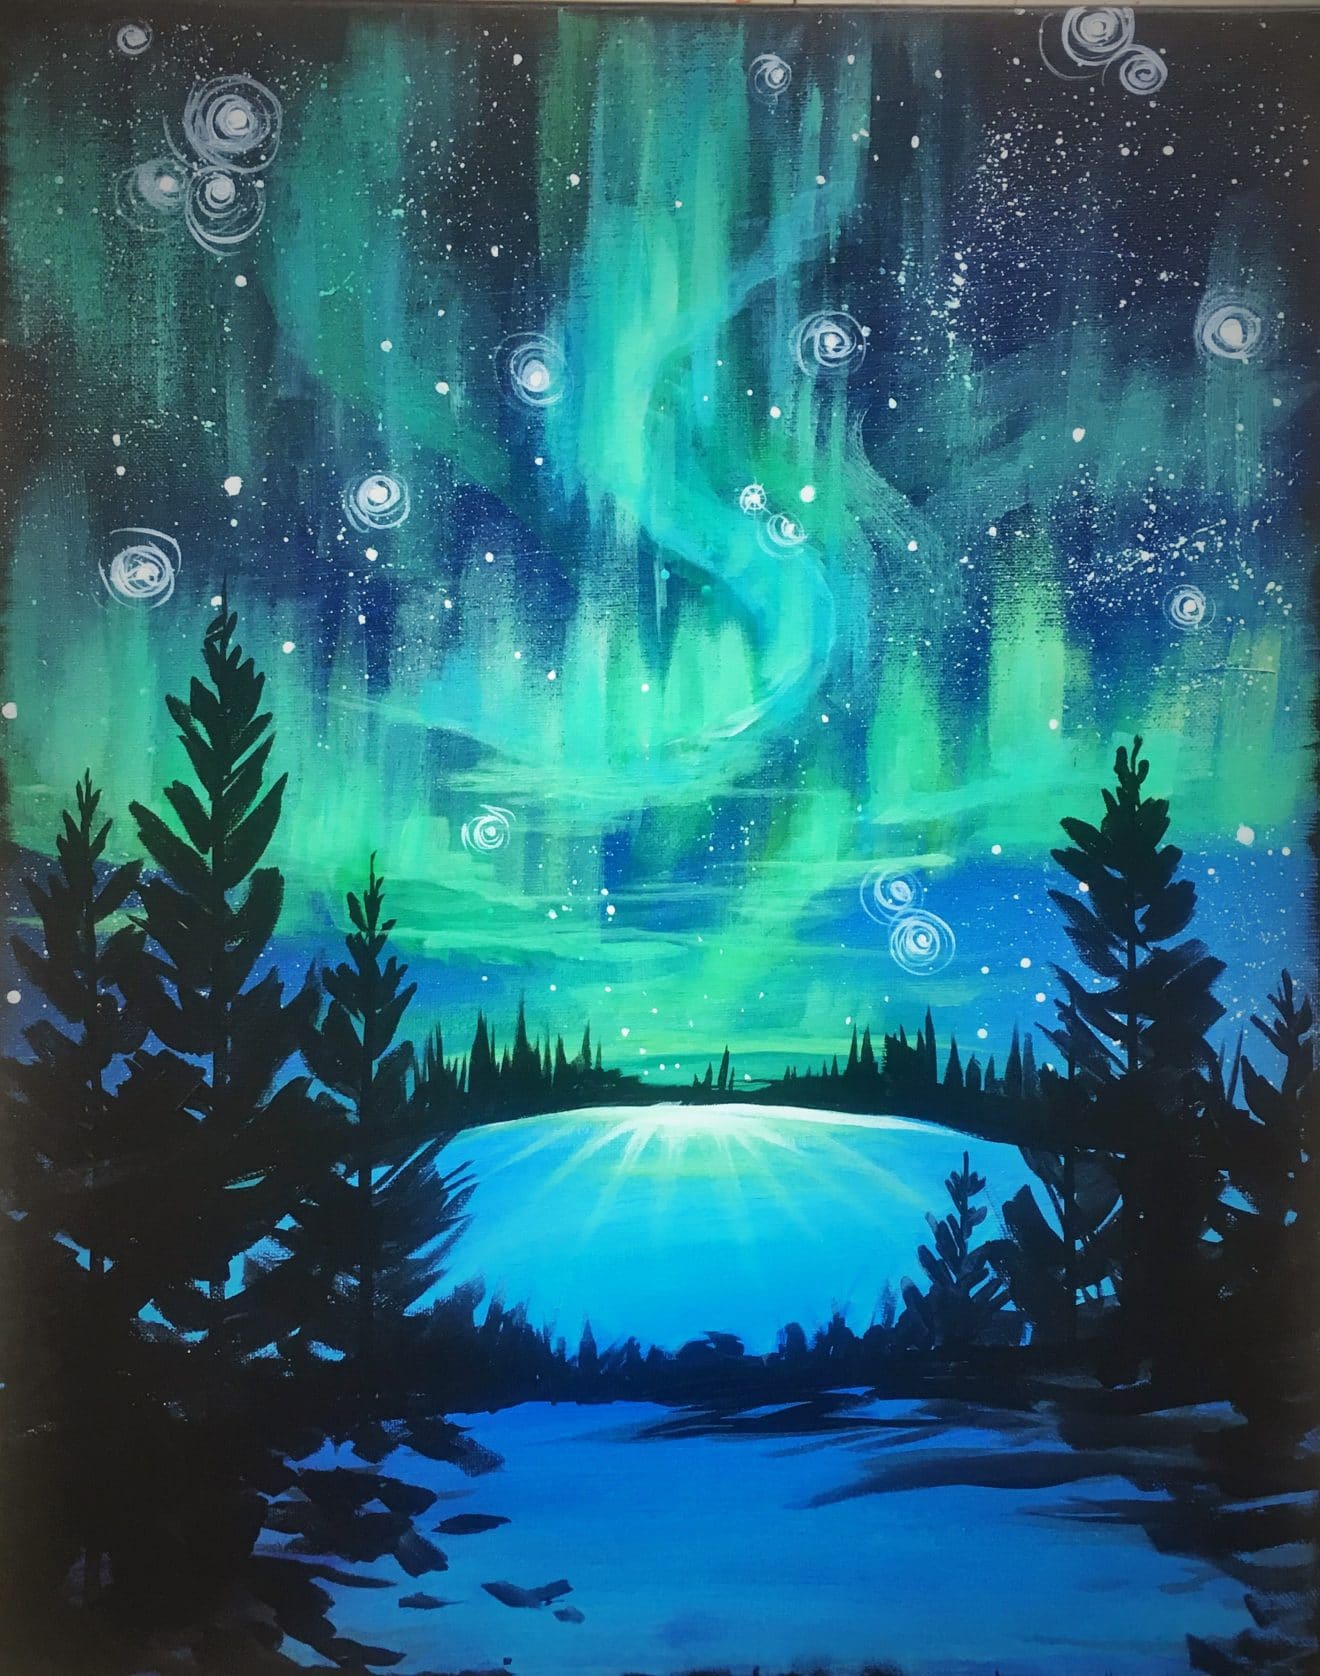
Adding a silhouette in the foreground—like some jagged black spruce trees or a rocky Icelandic coastline—gives the viewer a sense of scale. Without a foreground, the Aurora is just a bunch of pretty colors. With a foreground, it’s a massive, terrifyingly beautiful atmospheric event.
Specific Steps for an Acrylic Aurora
- Stage One: Paint the entire canvas in a dark, blended gradient of Indigo and Black. Let it dry 100%. Don't rush this. Go get a coffee.
- Stage Two: Map out your "ribbons" with a very faint, watered-down white. This is your ghost layer. It helps you see the composition without committing to heavy pigment.
- Stage Three: Apply your Phthalo Green. Use a dry brush to "smudge" the top edges upward. This creates the light-ray effect.
- Stage Four: Add the "hot" spots. These are the bits of yellow-white at the very bottom edge of the green ribbons. This is what makes the painting look like it’s actually glowing.
- Stage Five: Stars. Don't paint them one by one. Take an old toothbrush, dip it in thinned-out white paint, and flick the bristles. It creates a natural, random star field. Just make sure you cover your foreground first so you don't get stars on your trees.
Common Myths About Painting the Aurora
People think you need a lot of paint. You don't. You actually need very little. The Aurora is a "less is more" situation. If you pile on the paint, it loses its luminosity. You want the background colors to slightly peek through the green. That’s what creates the illusion of transparency.
Another myth is that the Aurora is always green. It's not! While green is the most common, some of the most stunning paintings use deep pinks and "Telemagenta" tones. These occur during massive solar storms. If you want your art to stand out, try adding a thin "fringe" of pink or red at the very top of your green curtains. It adds a level of realism that most amateur painters miss.
Actionable Next Steps for Your Canvas
Instead of trying to paint a masterpiece immediately, grab a small piece of scrap paper or a cheap canvas board. Practice the "upward flick" motion for twenty minutes. Experiment with how much pressure you apply.
Once you have the flick down, try a "glazing" technique. This involves putting down a layer of white, letting it dry, and then rubbing a very thin, transparent layer of green over it. This often produces a much more realistic glow than mixing white and green together on the palette, which can result in a "chalky" look.
Check out the work of real-life Aurora photographers like Ole Salomonsen or Babak Tafreshi. Look at how the light actually bends. Notice that it’s not just one line; it’s multiple layers overlapping.
Get your brushes ready. Start with the darks. Work toward the lights. Remember that the Aurora is energy, not an object. Keep your wrists loose and don't overthink the symmetry—nature isn't symmetrical, and your painting shouldn't be either.