You’ve seen the photos. Those crisp, almost architectural eyebrows that look like they were painted on by a Renaissance master, but somehow still look like real hair. That’s usually the work of a professional-grade tint. If you’ve been scouring the internet for a way to get that salon-level definition without actually driving to a salon every two weeks, you’ve probably bumped into the Brow Code Professional Tint Kit.
It’s popular. Like, "constantly sold out and featured in every influencer’s 'get ready with me' video" popular.
But honestly? Most people get the application totally wrong. They treat it like a box of drugstore hair dye, slap it on, and then wonder why their face looks like they used a Sharpie. There’s a specific science to how these pigments interact with the skin versus the hair.
What is actually inside the kit?
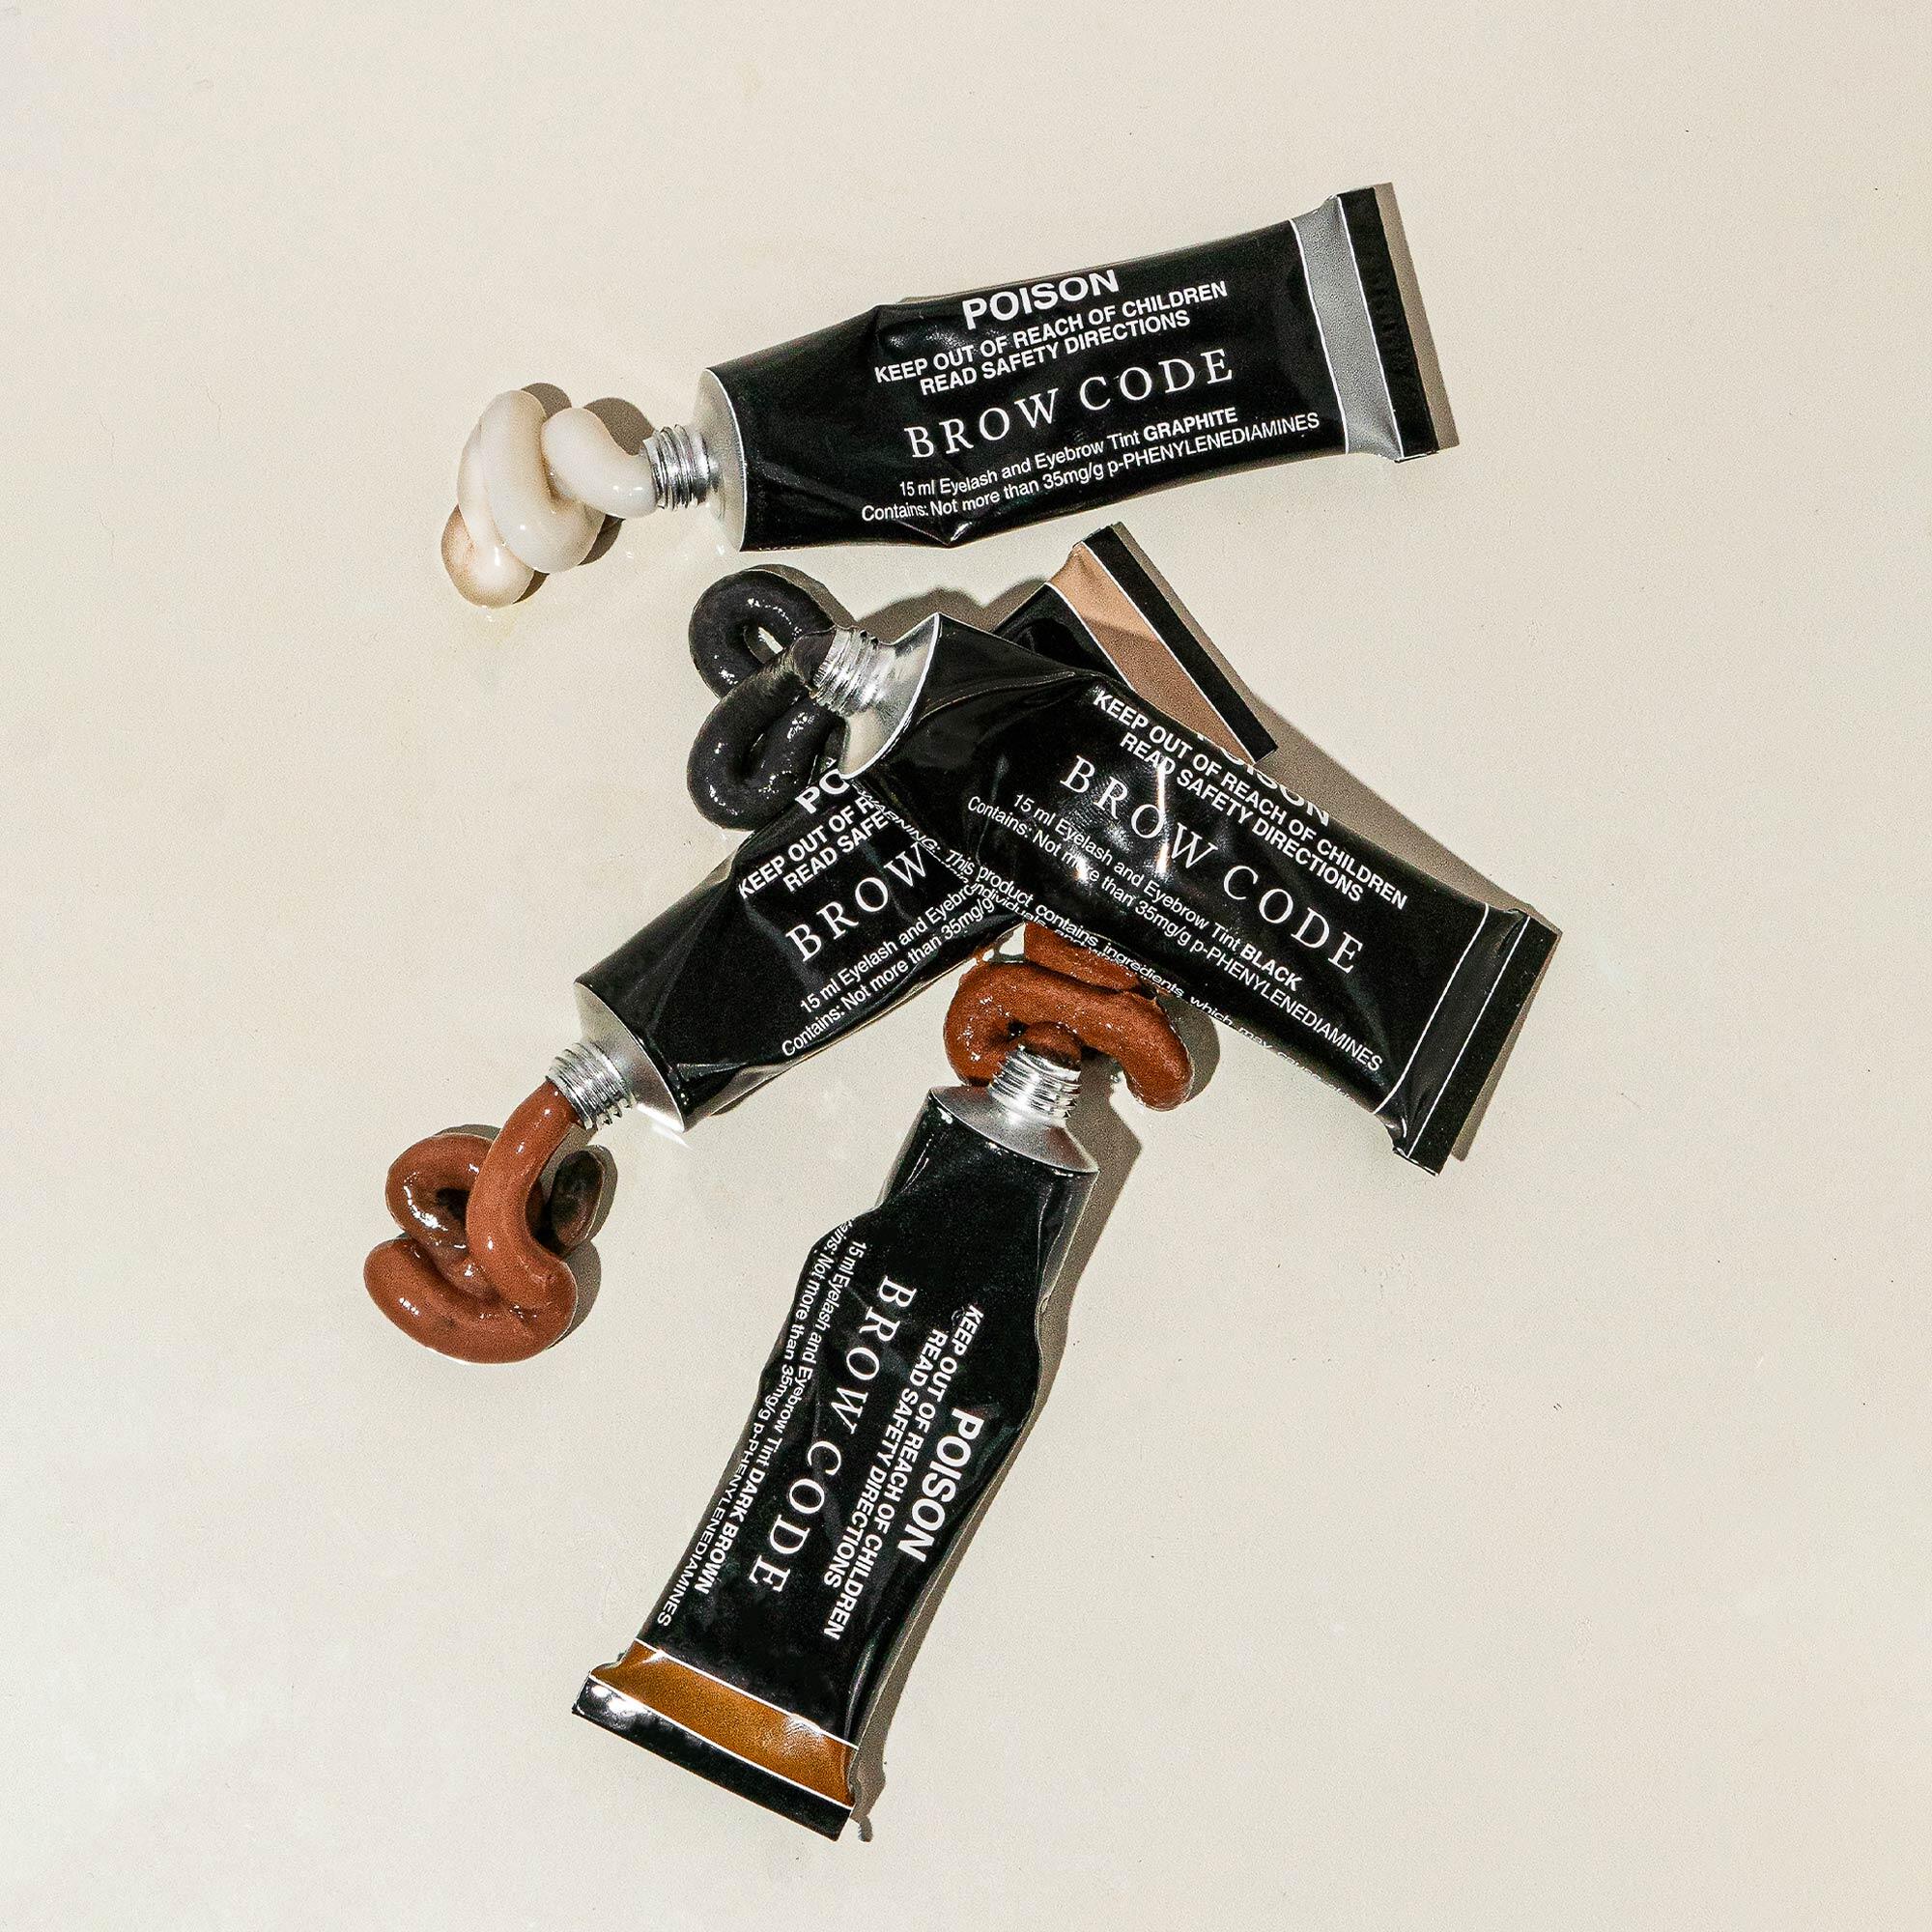
When you crack open the professional kit, it’s not just a tube of color. It’s basically a mini-laboratory for your face. You get the staples: Black, Natural Brown, Light Brown, and Graphite.
Some kits include the Blue Black, which is kinky-good for eyelashes but can look a little "villainous" on brows if you aren't careful. You also get the 3% Oxidant—the stuff that actually "wakes up" the pigment—and a glass mixing dish.
The Shade Breakdown
- Natural Brown: This is the workhorse. It’s warm, neutral, and fits almost anyone with medium to dark hair.
- Light Brown: Specifically for the blondes or those who want a "soft girl" aesthetic. If you leave it on for 2 minutes, it’s a whisper; 7 minutes, and it’s a statement.
- Graphite: This is the secret weapon for covering those stubborn gray hairs that refuse to take color. It’s also great for cooling down a brown that feels too "orange."
- Black/Blue Black: Use these for your lashes. Seriously. Unless you are going for a very specific high-fashion look, pure black on the brows can be aggressive.
Why people mess up the 1:1 ratio
Mixing is where the magic (or the mess) happens. The official instructions from Brow Code founder Melanie Marris are pretty clear: a 1:1 ratio.
Basically, you take a pea-sized amount of tint and mix it with an equal amount of the Cream or Liquid Oxidant. You want a creamy paste. If it’s too runny, it’ll bleed into your skin and ruin the shape. If it’s too thick, it won't saturate the hair.
Generally, four drops of oxidant is the "sweet spot" for a single set of brows.
The "Skin Stain" vs. "Hair Tint" debate
One thing that confuses everyone is how long it lasts. The Brow Code Professional Tint Kit is designed to do two things at once. It tints the actual brow hair for about 3 to 4 weeks. But it also leaves a "shadow" or stain on the skin underneath.
That skin stain? It only lasts about 7 days.
If you go in expecting a permanent tattoo, you're going to be disappointed by day eight. But for that first week? You don’t even need a brow pencil. It’s total freedom.
How to actually apply it like a pro
First, your brows need to be bone-dry. Any oil, moisturizer, or leftover sunscreen acts like a literal shield against the tint. Use an oil-free cleanser. If you have oily skin, maybe even a quick swipe of a gentle toner to make sure the surface is "grabby."
The "Stamping" Technique
Don't just brush it on like you're painting a fence. Professional techs use a "stamping" motion. You press the pigment into the skin first to ensure the stain is even.
Start at the tail. The tail of your brow should always be the darkest part to give your face a "lifted" look. Work your way toward the front.
The Ombré Secret
If you want that soft, faded look at the front of the brow (the "insta-brow" look), use a timer. Remove the tint from the inner corner of your brows about 2 or 3 minutes before you remove it from the tails. This creates a natural gradient.
Processing times matter
It’s a sliding scale.
For a subtle "did she do something different?" look, 5 minutes is plenty.
For a bold, defined, "I am a CEO" brow, you’re looking at 10 to 12 minutes.
Pro tip: Laminated brows—if you've recently had a brow lift—absorb color way faster. If you just did a lamination, cut your tinting time in half. Seriously. Otherwise, they will turn jet black in sixty seconds.
Real talk on safety and aftercare
You have to patch test. I know, everyone skips it. But these formulas contain PPD (para-phenylenediamine), which is a common allergen. Dab a bit on your inner elbow 48 hours before you go full-viking on your face.
Once the tint is on, the first 24 hours are the "danger zone."
- No water. * No steam. * No sweating. * No oil-based cleansers. If you jump in a hot shower three hours after tinting, you are literally washing your money down the drain. The pigment needs time to oxidize and "lock" into the hair cuticle. After 24 hours, you’re in the clear, and you can start using something like the Brow Gold Oil to keep the hairs from getting brittle.
Is it better than Henna or Hybrid Dye?
It depends on what you’re after.
Henna is great for a heavy, matte skin stain that lasts longer (up to 10 days).
Hybrid Stain (like Brow Code’s "Stain" line) is a mix of both.
The Professional Tint Kit is the "classic" choice. It’s faster to apply than henna and looks more like natural hair. It’s the best option for someone who wants to look groomed but not necessarily "made up."
Actionable Next Steps
If you’re ready to try it, start with a "Natural Brown" and "Light Brown" mix. It’s the safest way to find your perfect tone without going too dark. Grab a high-quality angled brush—the one in the kit is okay, but a dedicated micro-stroke brush makes a world of difference for those sharp tails. Always set a timer on your phone; three extra minutes can be the difference between "perfect" and "too much." Keep a few dry cotton buds nearby to instantly wipe away any "oops" moments before they stain your skin.